Automated Tests on GitHub for your ITK-dependent project with CircleCI and Docker

When performing continuous integration (CI) testing of a project, it is undesirable to spend time building and configuring a project's dependencies. For dependencies that take a long time to build and are highly configurable, like the Insight Segmentation and Registration toolkit (ITK), a cached version of a unique build environment greatly accelerates CI testing. Docker is an ideally suited tool for this task.
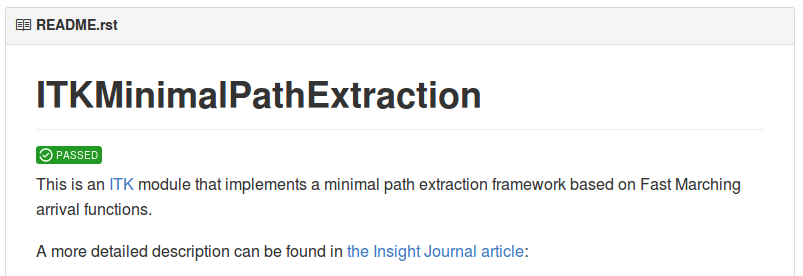
My name is Lucas Gandel, and I am an intern in the Kitware North Carolina office. In this tutorial, I will explain how to run GitHub CI tests using CircleCI and a Docker container. The aim is to have tests run each time a new commit is pushed to a GitHub repository. The test result will be submitted to CDash and a summary will be directly shown in the README section of the GitHub project. For example, lately, while working on TubeTk, I set up the testing infrastructure associated with the ITK MinimalPathExtraction remote module.
If you are not familiar with CDash, it provides a convenient way to aggregates, analyzes and displays results of software testing processes submitted from clients around the world. In this tutorial, the client is the build machine provided by CircleCI service.
-
Setup Docker Hub
-
Populate your project repository with the four following files located in the directory test/Docker :
Note that the test.sh script also invoke CTest executable to report build and test results on CDash.
-
Dockerfile : Provides instructions to Docker in order to build the image. It corresponds to the user command line instructions needed to set up the project. (Package install, Prerequisite Libraries … )
-
build.sh : Build script to perform a build of the Docker image locally. Contains the docker build command. See https://docs.docker.com/reference/commandline/build/
-
run.sh : Run script to execute locally. Provides instructions to control the image run steps. See https://docs.docker.com/reference/run/
-
test.sh : Test script to be executed by the run command on every automated build.
An example of these files can be found here : https://github.com/InsightSoftwareConsortium/ITKMinimalPathExtraction/tree/master/test/Docker

-
Configure Docker for automated builds :
-
Log in to DockerHub using your GitHub account. This should automatically link Docker to your GitHub repositories.
-
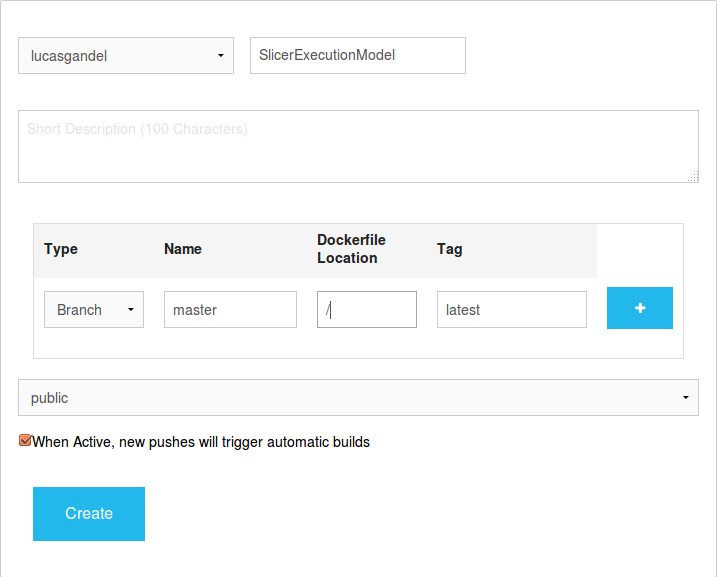
Next to your username, choose Create->Create Automated Build.
-
You should see all the GitHub repositories that are accessible for your Docker account. Click on the repository for which you want to add tests.
-
Fill the automated build parameters by providing a Description and the Dockerfile Location (test/Docker).
-
If the build times out, the image can be built locally and pushed up to DockerHub.
-
Set up CircleCI
-
Populate your GitHub project repository with the two following files located in the root directory.
-
circle.yml : This file is used to override the default CircleCI configuration in order to point at the Docker image we created.
An example for this file can be found at https://github.com/InsightSoftwareConsortium/ITKMinimalPathExtraction/blob/master/circle.yml.
Documentation for this file can be found at https://circleci.com/docs/config-sample.
-
CTestConfig.cmake : Used by CircleCI to submit files using HTTP protocol to CDash. The CTEST_DROP_METHOD parameter in this file has to be set as “http”.
An example can be found at https://github.com/InsightSoftwareConsortium/ITKMinimalPathExtraction/blob/master/CTestConfig.cmake.
-
Configure CircleCI
-
Log in to CircleCI using your GitHub account.
-
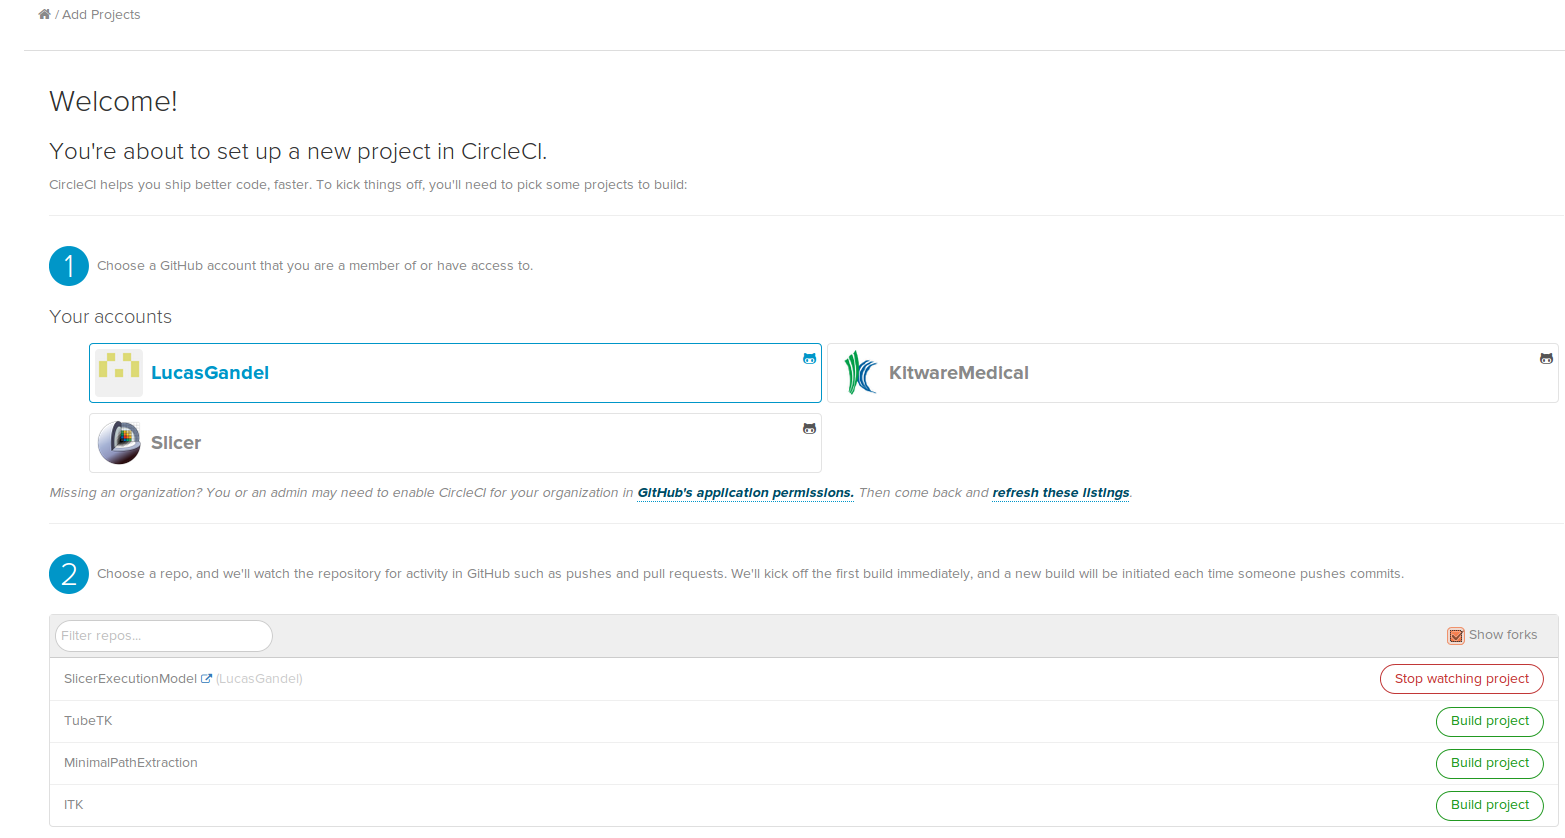
Click on Add Projects, select your user account or an organization name, and choose the GitHub repository for which you want to add tests.
If no repositories are shown in the list, you may want to check the “Show forks” parameter on the right of the screen.
-
Click on Build project to add CircleCI verification to your project.
-
Add CircleCI status badge and report link on GitHub
-
Populate your GitHub project repository with a README.rst file located in the root directory.
-
Add status badge image and link at the beginning of the README.rst file to point at CircleCI test results:
For reStructuredText file, the text to add will be similar to this one:
.. image:: https://circleci.com/gh/InsightSoftwareConsortium/ITKMinimalPathExtraction.svg?style=svg
:target: https://circleci.com/gh/InsightSoftwareConsortium/ITKMinimalPathExtraction
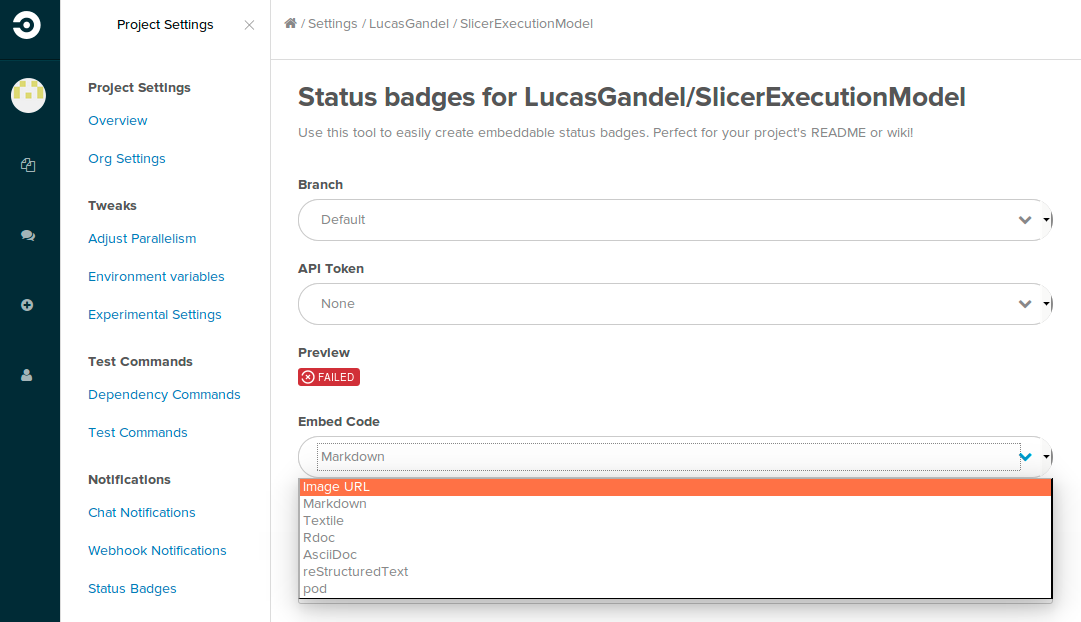
Instead of composing the text yourself, CircleCI provided a very convenient way to directly generate it based on the type of README file (markdown, reStructuredText, …).
In the Project Settings menu, choose the “Status Badges“ tab located in the “Notifications“ menu on the left of your screen.
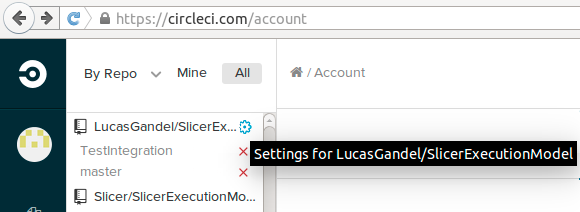
In the “Embed Code” section, select Image URL, and copy the image link to your README.rst file.
- Push the README.rst file to your GitHub repository to trigger verification.